November 2, 2010

Reforming Bad Apples: Roasted Applesauce


You know the saying, “One bad apple spoils the whole barrel”? That saying didn’t just come out of nowhere – the ethylene gas given off by the overripe apple signals the other apples to ripen. (Pretty amazing that they can do that, don't you think?) So you can imagine my dismay when, during our recent family apple picking outing, I realized the four-year-old had been picking the windfalls up from the ground and putting them in our bag, along with all the good apples.

“Stop! Don’t do that!” Her hand froze, hovering with worm-eaten apple just above the bag. “We can only use the apples from the trees. Those apples on the ground are bad.”

“OK, Mommy.”

“Did you put any others in there?”

“No,” she said, smiling up at me angelically.

I rooted through the bag, and pulled out as many wormy, faintly rotting apples as I could find.

I realized I probably didn’t find them all a couple weeks later, when I smelled the tell-tale fragrance of apple cider vinegar. I inspected the apples one by one, found three or four fully rotten ones dribbling their vinegary juices all over the place, and determined the others were now prematurely past their prime, mealy and definitely not vibrant in flavor.

Bummer. Only one thing to do with them: Make applesauce.

The great thing about applesauce is that you can use less than stellar apples, and no one will ever know the difference. This is because applesauce gives you the freedom to doctor up your apples, and remedy whatever ails them, through the judicious addition of lemon juice, sugar or honey, and spices.


I decided to try roasting my apples rather than boiling them, first and foremost because I am lazy and don’t want to hover over a pot of boiling apples, much less peel and slice them. But I also know that roasting tends to concentrate flavor and sweetness, and decided that this was the way to go with my very unflavorful, unsweet apples. Whatever flavor there was would be intensified.

Anyhow, it worked. The roasting process gave the sauce a faintly caramel taste, and the texture was fantastic – very thick and a bit lumpy. (I don’t like my applesauce to be watery and smooth like baby food.) And you don’t have to peel or slice anything! Woohoo! Nor do you you need a food mill! Double woohoo!


 Roasted Applesauce
A little note: If you are going to add a little spice to your applesauce, why not forego the usual cinnamon, and try a small amount of Chinese five-spice powder instead? The spices in it work really well with apples, and if you just do a small amount, it will have a lovely, subtle effect, and everyone will say your applesauce tastes great, and wonder what the heck you did to it. (My five-spice powder has cinnamon, star anise, fennel, ginger, cloves, white pepper, and licorice root, which technically is seven spices, but who's counting? Different brands will be slightly different, but still good. The traditional version has Szechuan peppercorns, star anise, cloves, cinnamon, and fennel. Just five. )

Oil, for greasing pan
8 apples, halved and cored (keep skins on)
Sugar, or honey, to taste
Lemon juice, to taste
Dash of salt
¼ to ½ teaspoon Chinese five-spice powder (Taste first before adding more. A little goes a long way.)

Preheat oven to 375°. Grease a large sheet pan with a neutral-flavored oil. Halve lengthwise and core eight apples, leaving the skins intact. Arrange the apples cut side down on your baking sheet, and place the sheet on the rack in the center of your oven. Bake for approximately 45 minutes, or long enough for the apples to start browning on the cut surface. (This is the delicious caramelization that you want.)

Remove apples from oven, and using an offset spatula remove them from the pan onto a plate to let them cool. Once apples have cooled, use a large spoon to scrape the apples out of their skins into a bowl. Mash the apples with a fork to desired texture. Add and mix in sugar or honey, lemon juice (usually just a generous squirt is needed), salt, and five-spice powder as desired. Or just be normal and add cinnamon – your sauce will fail to be anything but delicious. This sauce freezes well.

October 26, 2010

Waffling: A Tribute to Irma S. Rombauer


My kids are like wolves: If they sense the slightest hesitation or weakness, they will hone in for the kill. The four year old will issue deeply wounded, plaintive cries beginning with phrases like, "You NEVER let..." And the six-year-old will badger me into submission with her impeccable memory: "Remember, LAST WEEK, you said..."

So that's how I ended up making waffles for Sunday breakfast, even though I didn't really feel like it at first. I was planning on making pancakes, which I'd already promised the day before, and knew I couldn't get out of, even though I was tired. You see, I'd stayed up into the wee hours watching a particularly bad John Travolta movie on TV, all by myself because my husband was away at a conference. I don't know why I did it; but I did, and now it was 7:30 am, and they wanted waffles. "Well," I said, "I don't know... they take more time... I have to get out the waffle iron..."

You know that feeling of inertia which is so great it makes even the simplest of tasks seem like an unscalable mountain? That's how digging out the waffle iron felt to me. The kids sensed my indecision, my incoherence, my waffling, if you will, and unzipped their sheep costumes. The wolves came out and went for the jugular. I had no choice but to get down on my knees and root around in the back of a very full cabinet for the waffle iron.

Despite my grumbling, it wasn't so bad. It only took a couple of minutes to extricate it from the tangle of cords and jumble of seldom used pans. I plunked the waffle iron on the counter with a self-satisfied feeling of achievement. There! It felt good. I felt the boulder of my inertia slowly starting to roll downhill. I thought, why not try a different waffle recipe? Why not seize the day, accomplish something in life? I had already gotten the waffle iron out. What could be harder than that?


So I turned to my favorite mother-daughter team, the Rombauer ladies, to see what they had to say about waffles. It turns out quite a bit. You don't write a book containing more than 4,300 recipes by being taciturn. (I'm talking about my 1964 edition of The Joy of Cooking.) In addition to several creative serving suggestions, including illustrated instructions for cooking strips of bacon directly into your waffle, I learned that the more fat you add to your waffle batter, the crispier your waffles will be. I never knew that! Then, I hit this: "We also suggest beating egg whites separately for a superbly light waffle."

Internal groan. Oh crap, do I have to? I already got out the waffle iron. Isn't that enough? Can't I just mix the eggs in whole?

Then I thought about Ms. Rombauer, and how her husband committed suicide by shooting himself through the mouth with a shotgun, and needing a source of income, she, a complete amateur, decided to write what turned out to be one of the most ubiquitous, and used, cookbooks in America. (She self-published the first edition. I like to think of her as a proto-blogger.)

No. You are going to separate those eggs, if it's the Last. Thing. You. Do.  So I did it. I let the mucousy whites slip through my fingers into a bowl, and I deposited the velvety yolks into another bowl. I beat those egg whites until my arm hurt, and then beat them some more until my arm was numb. Then I gently folded the white foam into the batter, just like Ms. Rombauer told me to.

And? She was right. My waffles turned out superbly light. In fact, they turned out so superbly light that I'm going to have to make my waffles like that every time from now on. There's no going back, sore arm be damned.


(A little tip: Put your leftover waffles in the fridge or freezer, and then warm them up in the toaster when you are ready to eat them. Just like store bought! But way tastier, as long as you don't burn them.)

Superbly Light Waffles
Adapted from The Joy of Cooking (1964 edition)
1¾ cups all-purpose flour
2 teaspoons baking powder
½ teaspoon salt
1 tablespoon sugar
3 egg yolks
3 tablespoons canola oil
1½ cups milk
3 egg whites

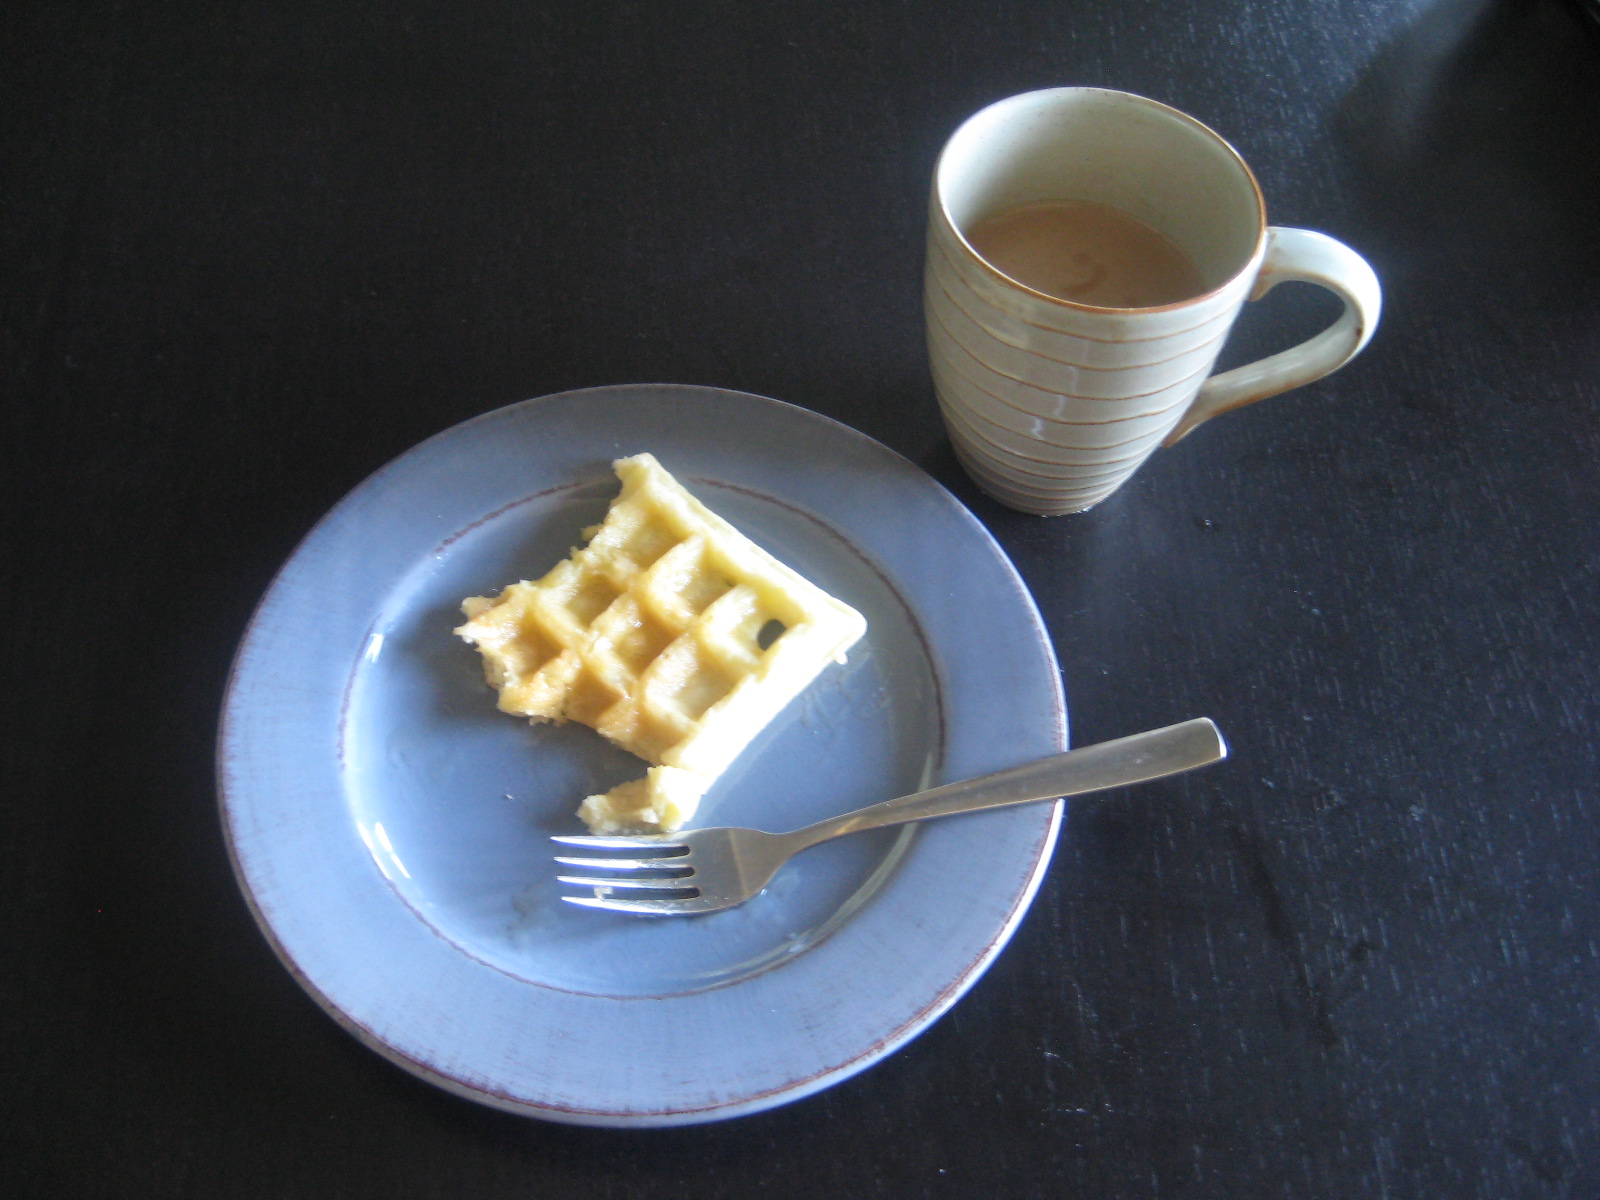
Start heating your waffle iron. Add the flour, baking powder, salt, and sugar to a large mixing bowl and mix well. Separate three eggs, then beat the yolks. Make a well in the middle of the dry ingredients, and add the yolks, oil, and milk. Stir until just combined and moistened. Do not over-mix. Using a wire whisk, beat the egg whites until they are all foamy. Fold the egg whites very gently into the batter. Scoop ladlefuls of batter onto your waffle iron and make the waffles according to your waffle iron's instructions. (On mine, the little green light which signals the waffle is done is broken. I can tell the waffle is done when no more steam is coming out.) Serve with butter and maple syrup or honey. And a badly needed cup of coffee.

October 20, 2010

Make Yourself Some Dang Spicy Pickles


What is there to eat? Sometimes, you've got to listen to Napoleon Dynamite's grandma, and make yourself a dang quesadilla. And then say, "Fine!" huffily, just for fun. But there's no need to be huffy. Why should anyone get huffy about melted cheese between two tortillas?

Especially if you jazz it up a little bit. First, I recommend using asadero cheese, which is sometimes called, fittingly enough, queso quesadilla. It's a white cheese, similar to mozzarella, which melts nice and velvety smooth. If you can't find asadero, Monterey Jack is a decent substitute. Just arrange your sliced cheese on top of a flour tortilla, place another tortilla on top, and place the whole thing in a dry skillet on medium heat. Heat both sides until brown spots appear and the cheese is melted. You can add other vegetables to the cheese before you cook. Mushrooms, onions, cilantro, whatever strikes your fancy. But might I suggest pineapple? People add it to pizza, so I figure it's not totally crazy. My husband and I like it a lot.


OK. So you've got your quesadilla. Salsa, sour cream, guacamole, etc. are all good accompaniments. But what I'm really here to sell to you today are carrot-jalapeño pickles. I've found them in countless taquerias, and enjoyed them with many a taco. So when I found myself with a surfeit of jalapeños from my freakishly bountiful plant (still going strong), I decided to give them a go. They were super easy, I used up 13 jalapeños, and they are awesome with quesadillas, especially ones with pineapple in them. The sweetness of the pineapple just works really well as a counterbalance to the spicy acidity of the pickles.

I found these pretty "rainbow carrots" at my market, but regular old orange carrots will work just fine. I do like working with the pretty carrots, though. (Did you know that carrots originated in Afghanistan, and that orange carrots did not exist until the 16th century? Well, now you do.)


Carrot-Jalapeño Pickles
2 cups apple cider vinegar
about 1/2 tablespoon sugar
9 small carrots, peeled and sliced into rounds
13 jalapeño peppers, sliced into rounds
1/2 a medium-sized onion, sliced

Add the vinegar and the sugar to a medium-sized non-reactive saucepan, and heat until the liquid is hot but not boiling. A few tiny bubbles should be starting to form. Remove pan from heat and add the carrots, jalapeños, and onions. Steep for one hour. Add the pickles to clean jars and keep refrigerated. The pickles should last for a few weeks. Feel free to halve the recipe if you don't think you'll be eating that many quesadillas (or tacos, burritos, etc.). We eat a lot of Mexican food around here. Beans and rice, beans and rice, it's nice. But it's also nice to have lots of spicy pickles to make things interesting.

(This post has been entered in this month's Grow Your Own round-up, hosted by MomGateway.)

October 12, 2010

Pretty Pita Pizzas


The request: Pizza. The problem: No mozzarella cheese in the fridge, and no desire to drag tired, hungry kids or my tired, hungry self to the store. The other problem: Not enough time to make dough.

The solution: Pizzas on pita bread. For the kids I used an olive oil base topped with garlic, sliced tomato, and zucchini, with a little Parmesan cheese. The adults got a rosemary-caramelized onion base, topped with thinly sliced zucchini, capers, and an egg, also with a bit of Parmesan.

The result: Momentary happiness, full bellies, and the feeling of satisfaction that comes from making a pizza that looks like a flower.


These pizzas are very easy, and open to individual interpretation. This was my general method: For the kids' version just place a piece of pita bread on a sheet pan, then spread some olive oil on the bread, sprinkle with salt, then top with minced garlic, tomato slices, zucchini, and a little more salt. Bake in a 450° oven for about 10 minutes. Sprinkle with grated Parmesan after you remove the pizza from the oven.

For the adult version, you follow the exact same principle: Put your pita bread on a sheet pan, spread the caramelized onion sauce (recipe follows) on the bread, then arrange very thinly sliced zucchini in a circle around the edge. Crack an egg into the middle, and sprinkle capers and a little salt on top of everything. Bake for about 10 minutes in a 450° oven, or until egg is set. Remove the pizza from the oven and sprinkle grated Parmesan and black pepper on top.

Rosemary Caramelized Onion Sauce
The only thing that takes any time worth mentioning in this whole process is the caramelized onion sauce, which needs to cook for about 35 minutes. You could always make this ahead of time if you manage to plan ahead. Or you can just let it cook while you prepare your other pizza ingredients. The sauce tastes even better the next day, and would be great on a piece of crusty bread or crackers.

6 tablespoons olive oil
3 medium-sized yellow onions, peeled and sliced
Salt
1 teaspoon dried rosemary
Dash of sherry vinegar

Heat the olive oil in a large saute pan. Add the onions and a little salt and cook on medium heat, stirring occasionally, for a long time, until the onions turn a nice golden brown. (Be careful not to scorch the onions. If they start cooking too fast, turn down the heat. Slow and steady is the idea. It took about 35 minutes for my onions to be done.) During the last few minutes of cooking, crush the rosemary in your palm and add it to the pan. Stir to combine and cook for a few minutes until the onions are done. You will then need to puree the onions in a blender or food processor, adding perhaps a bit more olive oil to get a thick, fairly smooth sauce with some lumps in it. Pour the onions into a bowl, and add a dash of sherry vinegar and more salt to taste, if needed.

Incidentally, this sauce makes a really nice salad dressing if you add a dollop to some balsamic vinegar. Make a salad of toasted pumpkin seeds, chopped apples, and very fresh lettuce, then toss with this dressing. I did this with some of my leftover sauce, and it was quite lovely.